How To Grow Cannabis In 14 Steps
How To Grow Cannabis In 14 Steps!
In this article I’m going to walk you through the complete 14 step process for growing cannabis. I won’t be using any fancy terms such as lumens, lux, ppm, and etc. I want to keeps this as basic as possible so any body can comprehend it. So lets dive right on into this.
Step 1: Germination Of Seeds
Wk 0
There are 2 main methods that I use to germinate my seeds.
| Method number 1 is to place my seeds into a paper towel and spray it with a spray bottle until the paper towel is real moist but not dripping. Then place the moist paper towel into a zip-lock bag. Wait for 1 or 2 days and check to see if you got a root. | Method number 2 is to get a cup and fill it with water then place your seeds into the cup. (Almost all your seeds should float ) Wait for a few hours and check to see if your seeds sunk to the bottom of the cup. Ones that didn’t sink try to push them down with your finger. ( Remeber not to keep your seeds under water for too long or they’ll drown. 12hrs max! ) |
Step 2: Plant Germinated Seed
Wk 1
After your seed has been germinated and you got your tap root it’s time to figure out how you want to grow. ( But for this tutorial we are going to stick with good old fashion dirt. ) To save pace when I plant my seedlings I use a 4 oz Styrofoam cup. When I plant my seedling I create a hole just long enough for the root to lay in, and the shell to sit right above the dirt. Then I sprinkle dirt over the hole and shell covering up everything.
Step 3: Water Seedlings
( Use PH Water 6.0-7.0 )
Wk 1 to Wk 2
When your cannabis plant is still in its seedling stage the roots are not established enough to use a watering can. If you water with a watering can the water run off could take your plant with it. The recommended way to water your plant is to mist it with a spay bottle or mister. ( At this stage your plant does not need food)
Light Cycle 18hrs
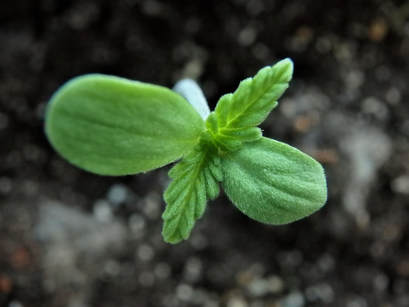 When your plant first pop out of the ground! | 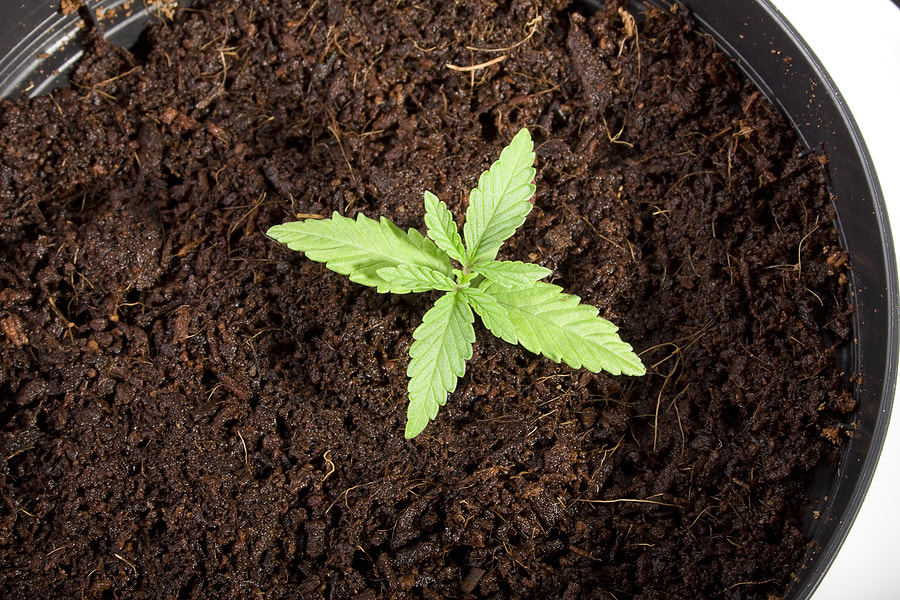 After about week your plant will begin to look this! |
Step 4: Begin To Feed Seedlings
( Use PH Water 6.0-7.0 )
Wk 2
| At This stage your plants used up all the stored nutrients from the seedling phase and needs to start sending roots out to gather nutrients. Now is the time when you should start feeding your plants, but don’t go all out. Start with a light dose of nutrients then gradually increase your dosage to where you want to be at. ( Tip your plant could use way less then the recommended dosage. )Here the plants are still pretty small and a watering can could still take your plant, what I use is a condiment bottle. | 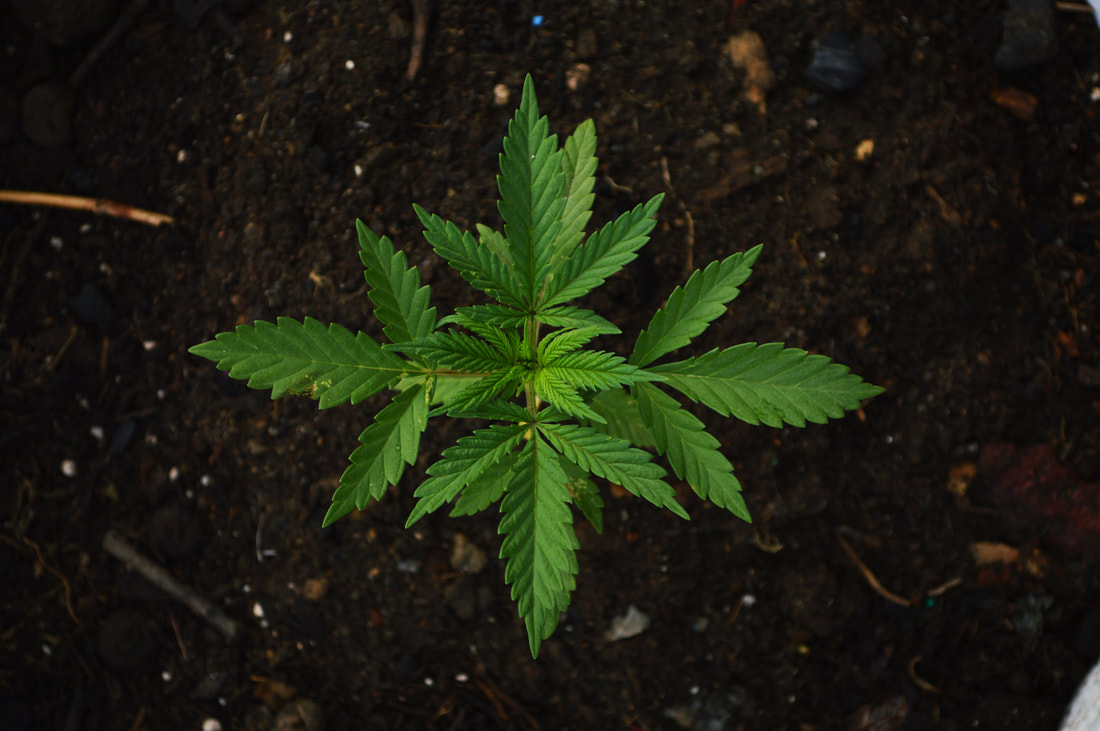 Cannabis Early Veg Phase |
Light Cycle 18hrs
Step 5: The Beginning Of Vegetative Growth
(Clones Normally Start Here )
Wk 2 to Wk 3
The first sign that your plant is in vegetative growth is when your seedling leaves fall off, and your plant begins to look like a little cannabis plant. You’ll start to notice that your plant is growing faster and your leaves would start to resemble the actual cannabis leaf. At this stage your plant will need the most nutrients( mainly a nitrogen heavy feed ).
Light Cycle 18hrs
Step 6: Plant Training ( Optional )
Wk 3 or Wk 4
| This technique is a little more advance, but if done right you can double your harvest, if done wrong you could kill your plant. At this stage you’ll want to top your plant to produce multiple main colas at the top for flowering. Light Cycle 18hrs | 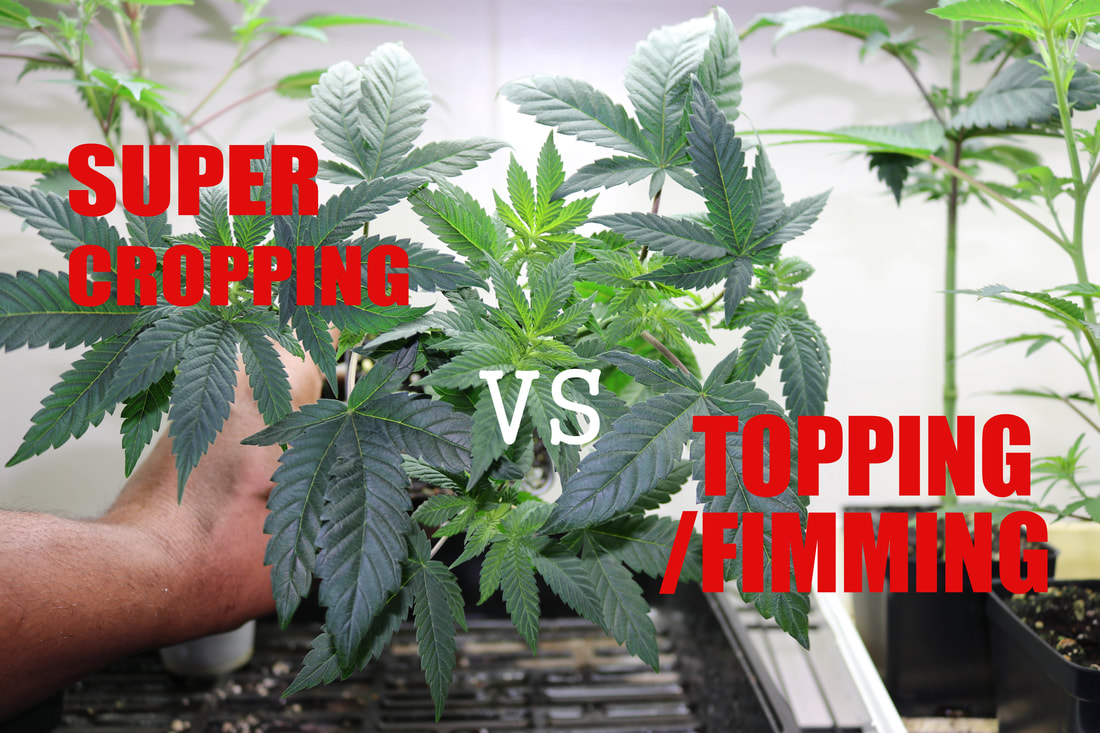 Cannabis Plant Training |
Step 7: Transplant Into A Bigger Container
Wk 4 or Wk 5
After your plant starts looking like a cannabis plant, you’ll need to transplant your plant so that your roots can continue to grow. ( If you don’t transplant your plants, after awhile your roots will begin die )
Light Cycle 18hrs
Step 8: Ending Vegetative Growth Phase
Wk 5
| This is the last week to do specialize plant training, before you flip your lights into a 12 hours on 12 hours off cycle.Light Cycle 18hrs | 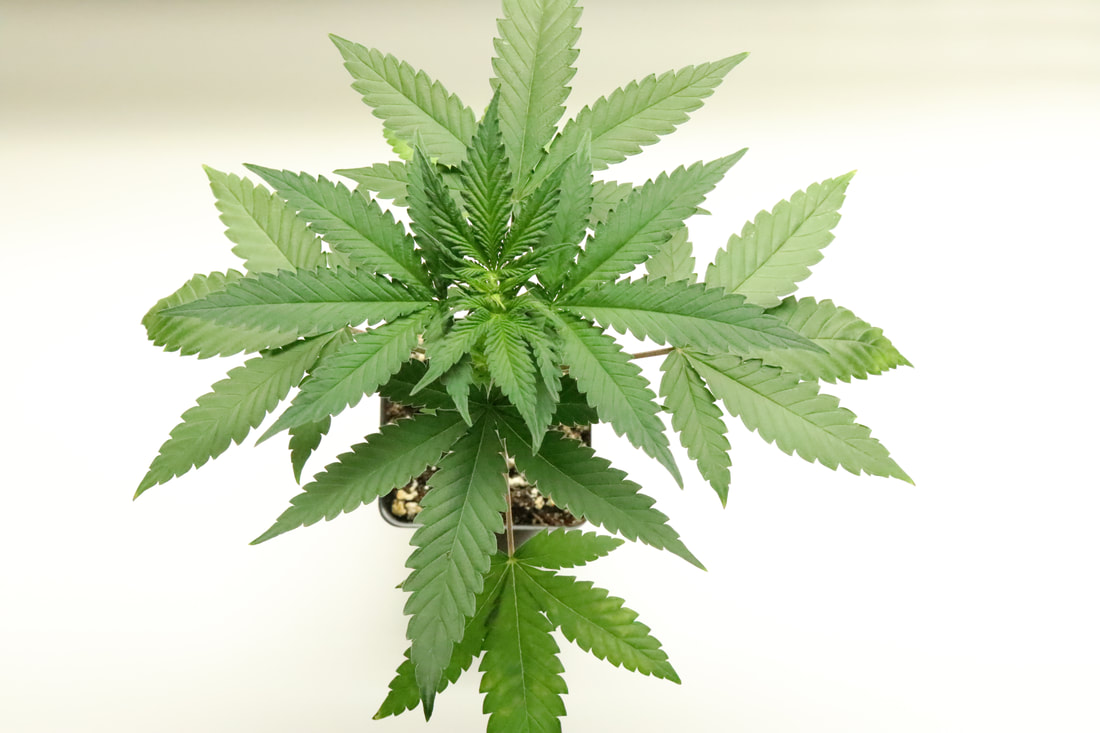 Cannabis End Veg Phase |
Step 9: Flowering
Wk 6 (First wk of flower )
At this phase you would want to transplant your plant into it’s final container. (Normally those containers are 3-5 gal pots/ buckets. ) You would also want to switch your nutrients from a vegetative growth nutrient into a flowering heavy nutrient.
Light Cycle 12hrs
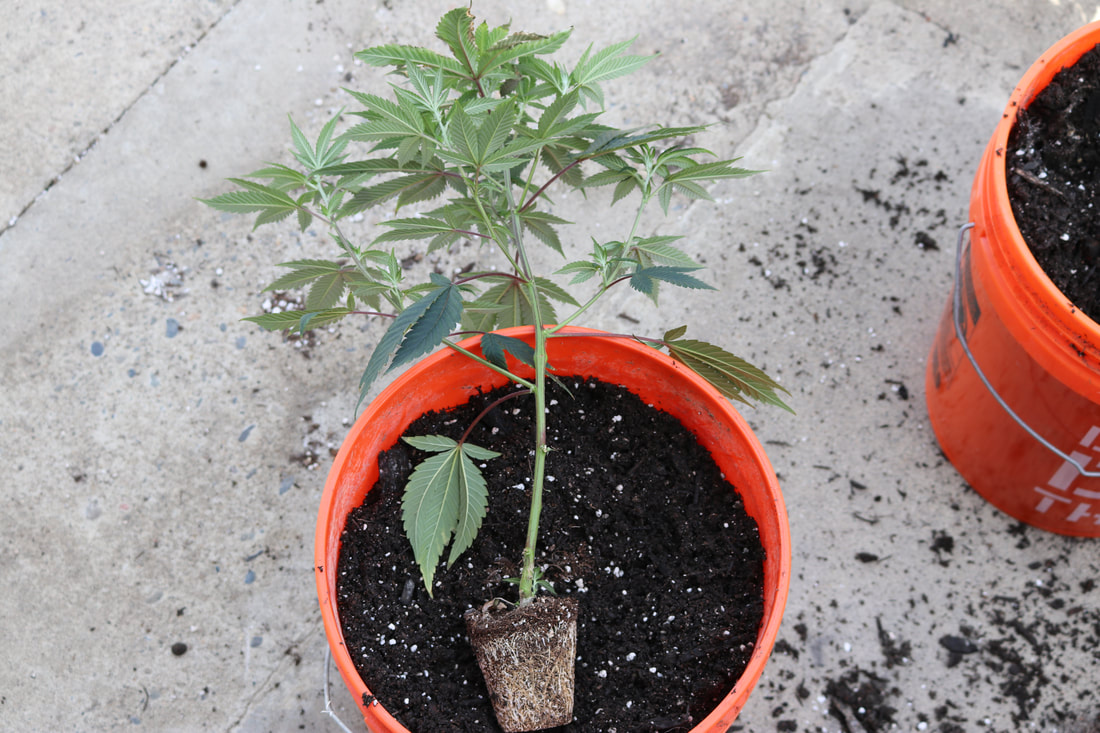 I typically transplant my plant 2 days before flowering! | 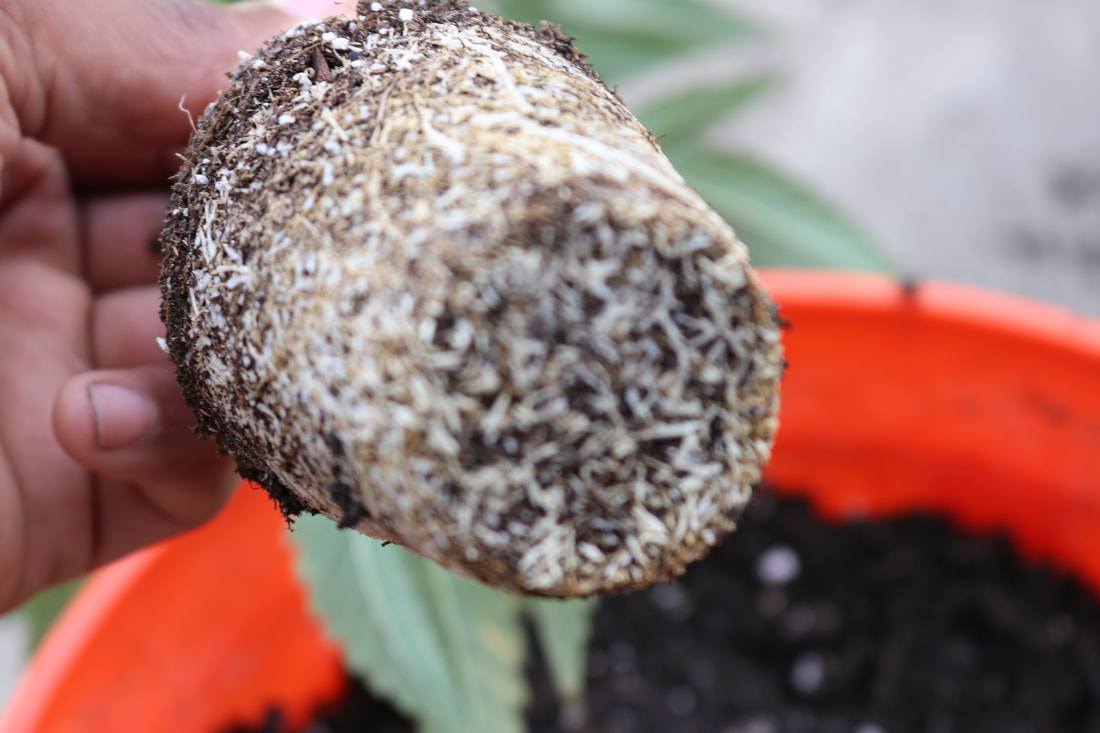 |
Step 10: Feeding During Flowering
( Use PH Water 6.0-7.0 )
Wk 7 thru Wk 9
( Second wk up to the third wk of flowering )
While it’s still in the beginning phase of flowering you would want to provide a feed that promotes flowering.
( While in this phase I tend to feed heavier then normal. )
Light Cycle 12hrs
Step 11: Minor Plant Training
Wk 10 (Fourth Wk of flowering )
By now your plant is thriving and you have all kinds of insane growth. This is when you’ll want to cut a lot of that under growth off, every part of the plant that you don’t think would get enough light or places that you feel is too crowded.
Light Cycle 12hrs
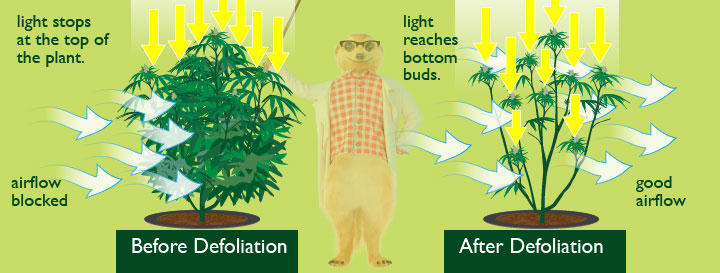
Photo By spliffseeds
Step 12: Cut Back On Nutrient Feed
( Use PH Water 6.0-7.0 )
Wk 11 or Wk 12
( Fifth and sixth wk of flowering )
At this point you can see the finish line and want to start letting the plant use all the nutrients that is in your soil.
I typically only add approximately 1/4th of the recommended dosage at this stage.
Light Cycle 12hrs
Step 13: Flush
( Use PH Water 6.0-7.0 )
Wk 13 and Wk 14 ( Last Wks )
Water with water to get rid of the nutrient taste!
Light Cycle 12hrs
Step 14: Harvest
The End! Enjoy!
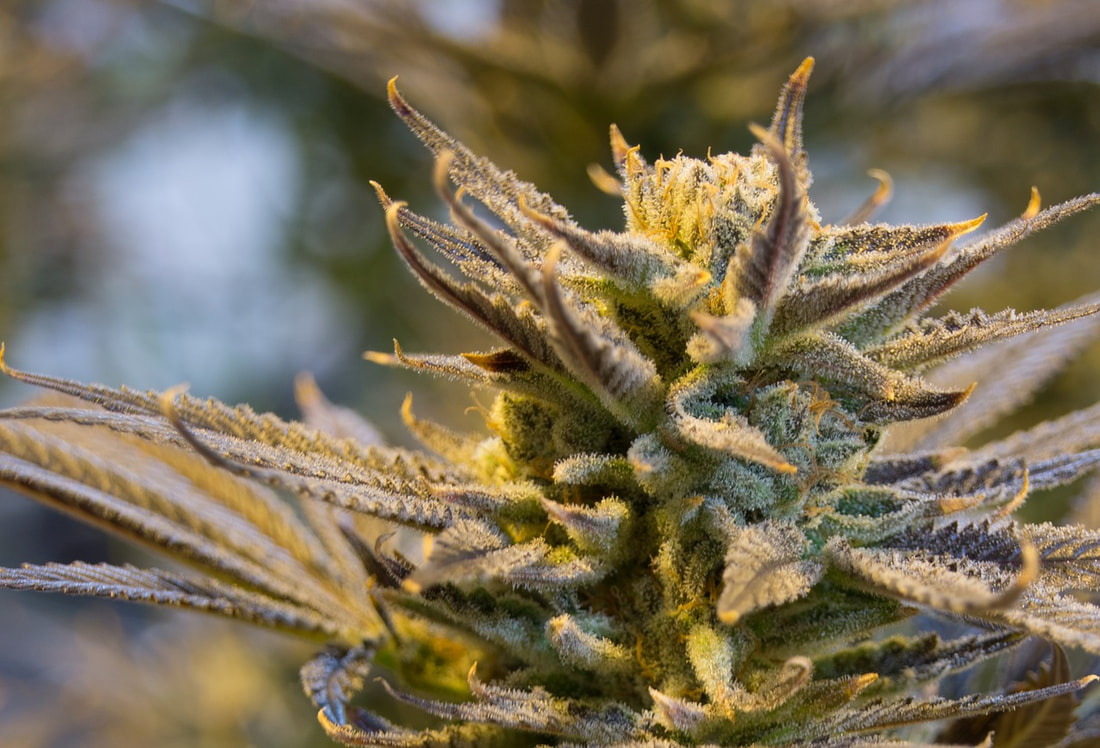
List Of Everything I Use
Buy From Amazon
- General Hydroponics pH Control Kit
- Sandwich Bags ( prefer Ziploc )
- Paper Towels
- Cannabis Seeds
- Cups (For Soil )
- Spray Bottle
- Soil 1
- Soil 2
- Compost For nutrients ( Compost is not mandatory but Nutrients are Expensive )
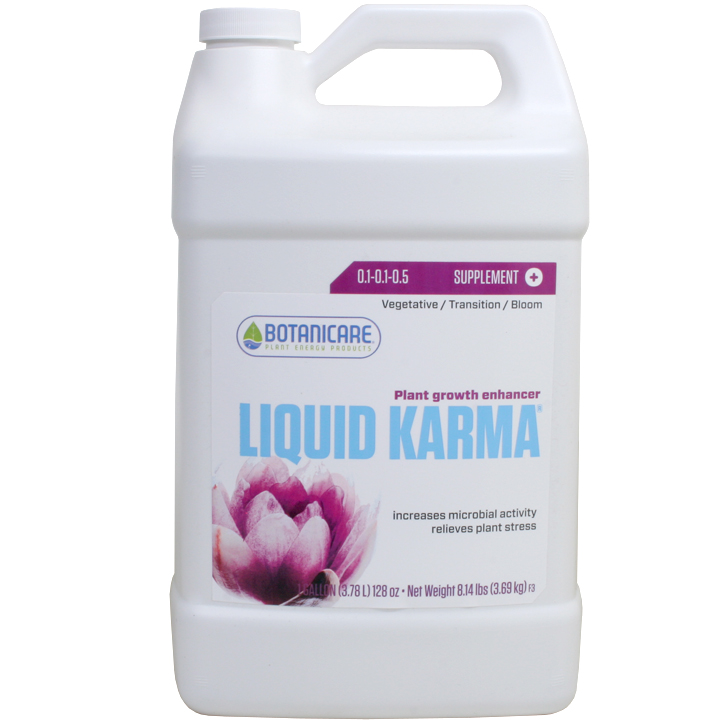
- Liquid Karma
- Age Old Grow (Very First Nutrients I Used )
- Cal- Mag
- Measuring Cups
- Watering Cans
- 5 Gal Buckets


